Last updated on April 6th, 2024 at 10:29 am
Are you an aspiring architecture photographer ready to take your skills and photos to the next level?
If you want to capture stunning architectural shots, it pays to invest in the right equipment. With cameras, lenses, lighting systems and other items available on the market, it can be hard to know where to start.
But don’t worry — we’ve done all of the research for you! In this blog post, we’ll outline ten essential pieces of equipment every architecture photographer should have in their arsenal.
Read on for tools that will help enhance your creativity and get those jaw-dropping shots!
Table of Contents
10 Best Equipment For Architecture Photography
1. Tilt-Shift (AKA Perspective Control) lens

The world of architecture photography can be a demanding one, requiring precision and clarity to capture the beauty and essence of a building.
A trained eye, a steady hand, and quality equipment are all important aspects in achieving stunning results. And when it comes to gear, there is perhaps no investment more crucial than a tilt-shift lens.
This piece of equipment allows the photographer to project an image that is larger than the camera’s sensor, and to strategically shift and tilt the lens’s elements to control and enhance the image.
For architecture photographers, this means the ability to eliminate the “falling backwards” effect that can occur when photographing tall structures and to achieve greater depth of field control. So if you’re looking to take your architecture photography to the next level, a tilt-shift lens may just be the key investment you’ve been seeking.
Our Top 3 Picks For You
Table could not be displayed.2. Wide-Angle Lens
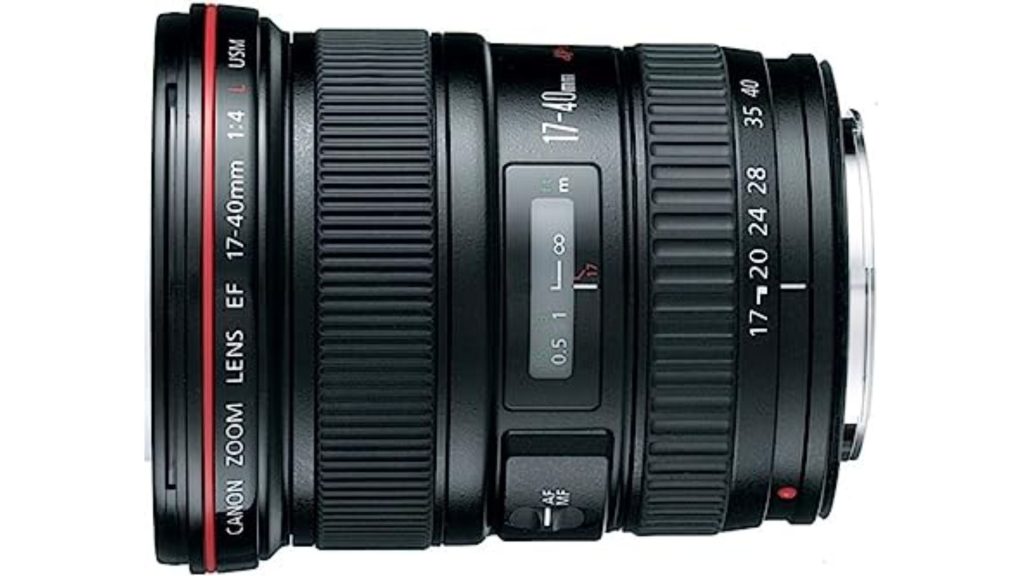
When it comes to capturing a building in all its glory, perspective is everything. Architects design buildings to be viewed from a certain angle, so if you’re photographing without correcting the image, your image may suffer from the keystone effect, where the building appears to be leaning.
Thankfully, there are ways to correct this effect, including using a wide-angle lens and shooting with the sensor surface parallel to the building.
While this method may result in lower image quality due to cropping, it’s still a great solution, especially if you’re shooting for smaller prints or for the web.
If you have no choice but to shoot at an angle, don’t worry—distortion can be corrected in post-processing. After all, the end result is what matters most
Our Top 3 Picks For You
Table could not be displayed.3. Tripod
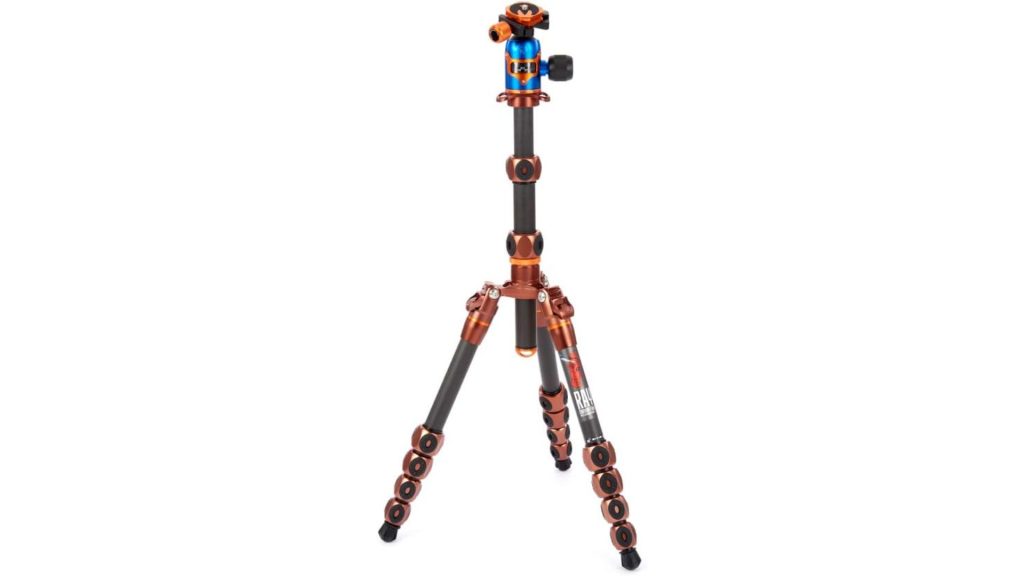
Architecture photography is not just about capturing a building – it’s about controlling every aspect of the image. Stability is key, especially when taking long exposures, where even the slightest shake can ruin an otherwise perfect shot.
Often, image stabilization alone is not enough to counteract this. That’s where a sturdy tripod head comes in, providing the necessary support and rigidity to keep the camera steady.
And if you’re looking to ensure a horizon that’s straight and true, a level will be your trusty ally.
With these tools on hand, a photographer can have complete control over the composition and make sure every shot is exactly as they envisioned it.
Our Top 3 Picks For You
Table could not be displayed.4. Bubble Level
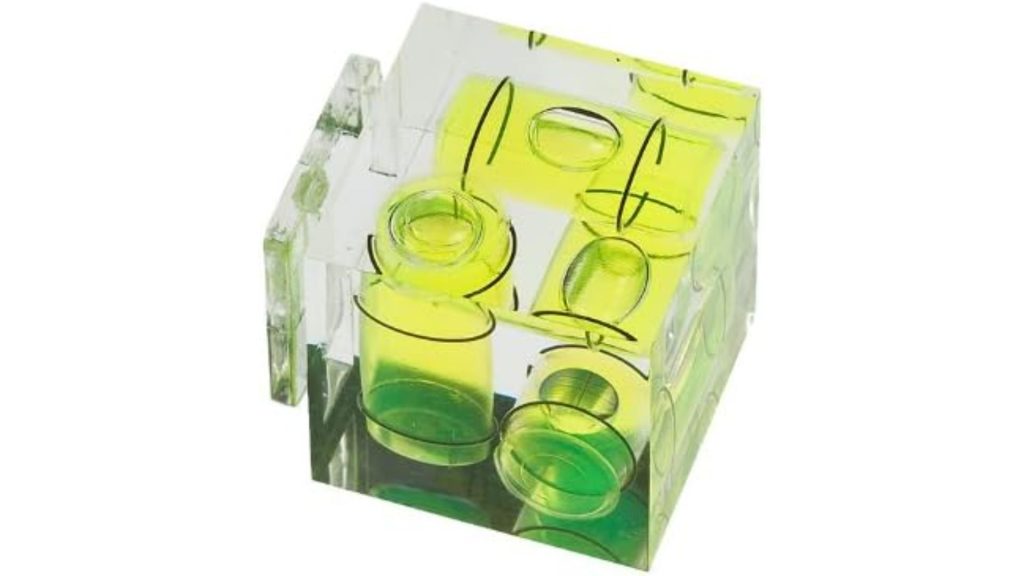
Have you ever taken a picture only to realize later that the horizon is at a diagonal angle? It’s a frustrating mistake, but fortunately, there’s a simple and affordable solution.
For less than $35, you can purchase a bubble level that fits in your camera’s hot shoe.
The LensCoat 3-Axis Bubble Level is an excellent option that allows you to easily level your camera’s positioning in any direction.
Say goodbye to crooked horizons in your photographs and hello to perfectly straight compositions every time.
Our Top 1 Picks For You
Table could not be displayed.5. Full Frame Camera Head
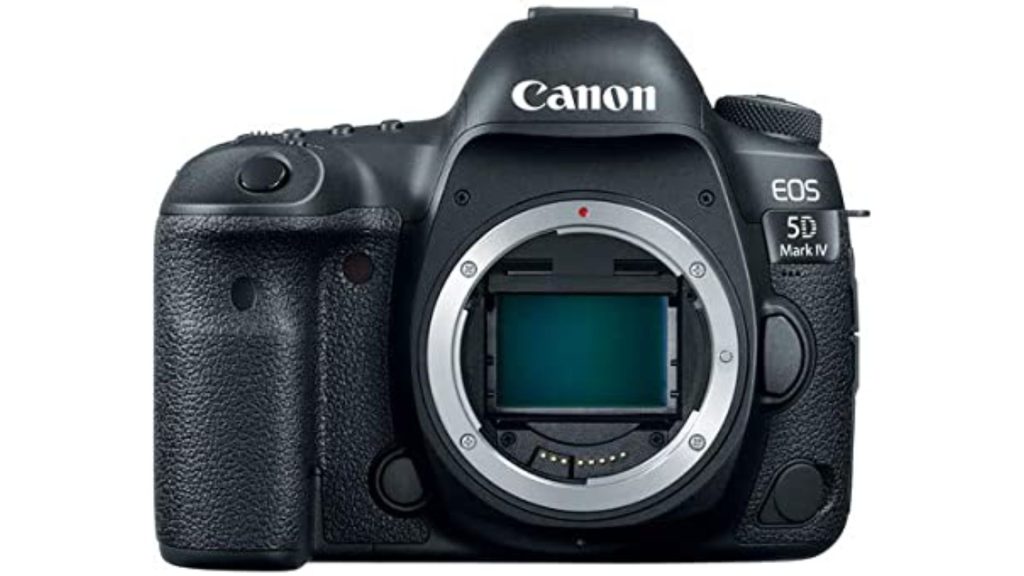
For those with a passion for architectural photography, having the right equipment is paramount.
A serious photographer needs a camera that can capture every intricate detail and nuance of colour with clarity and precision.
With so much depending on the final image, it’s essential to invest in a camera that has been thoroughly tested for its image quality.
And, according to independent tests, full-frame DSLRs and mirrorless cameras have been consistently outperforming smaller-sensor cameras, including APS.
A camera that delivers on the promise of excellence in its images can make all the difference in creating a captivating architectural photograph.
Our Top 3 Picks For You
Table could not be displayed.6. Panorama Head
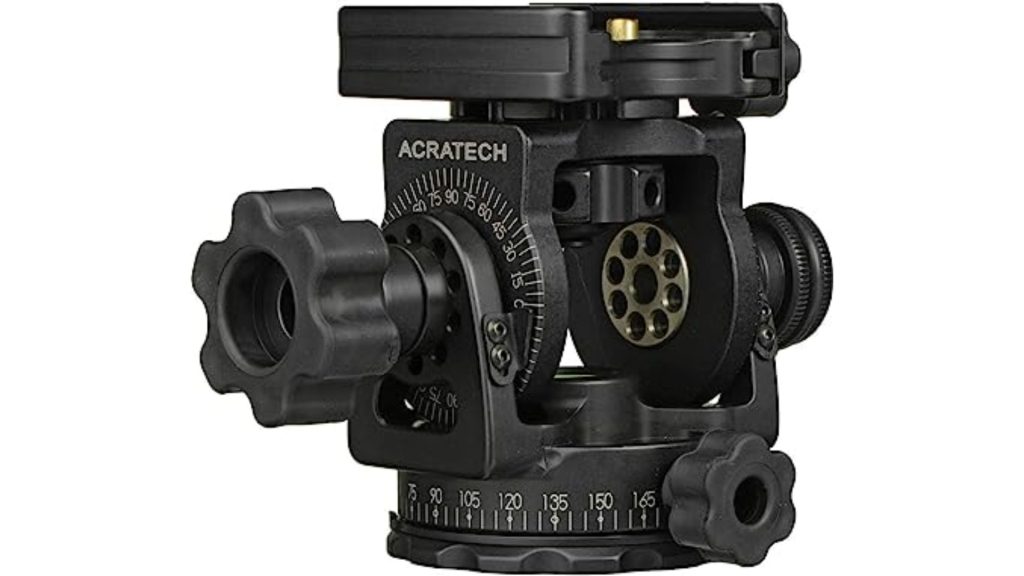
Have you ever wanted to capture the entire essence of a space in one stunning photograph?
Then, you need to try out immersive panoramas in architecture photography. This subspecialty is ideal for real estate photography, as it allows you to showcase the entire property in a single image.
However, to achieve this, you will need an appropriate tripod head that will give you natural-looking images that can be stitched together.
With the right panorama head, you can post these photos on specialized websites that display immersive images viewers can zoom in and pan.
Not sure which head suits you best? You can choose between simple manual panorama heads and mechanical ones. So, start capturing stunning immersive panoramas with a quality panorama head today!
Our Top 2 Picks For You
Table could not be displayed.7. Polarizing filter
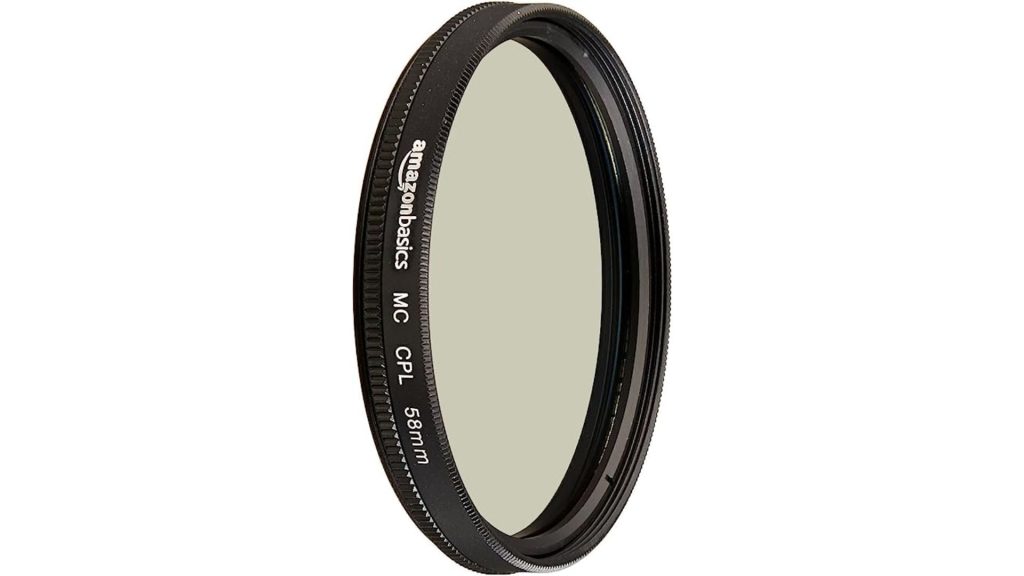
Photographing architecture can require careful consideration of every element within the frame, including what’s reflected on mirrors and windows.
As a photographer, you’ll need to be able to recognize when these reflections contribute to the story you’re trying to tell and when they need to be eliminated.
Fortunately, with the help of a simple polarizing filter, eliminating unwanted reflections can be a breeze.
Our Top 1 Picks For You
Table could not be displayed.8. Lighting equipment
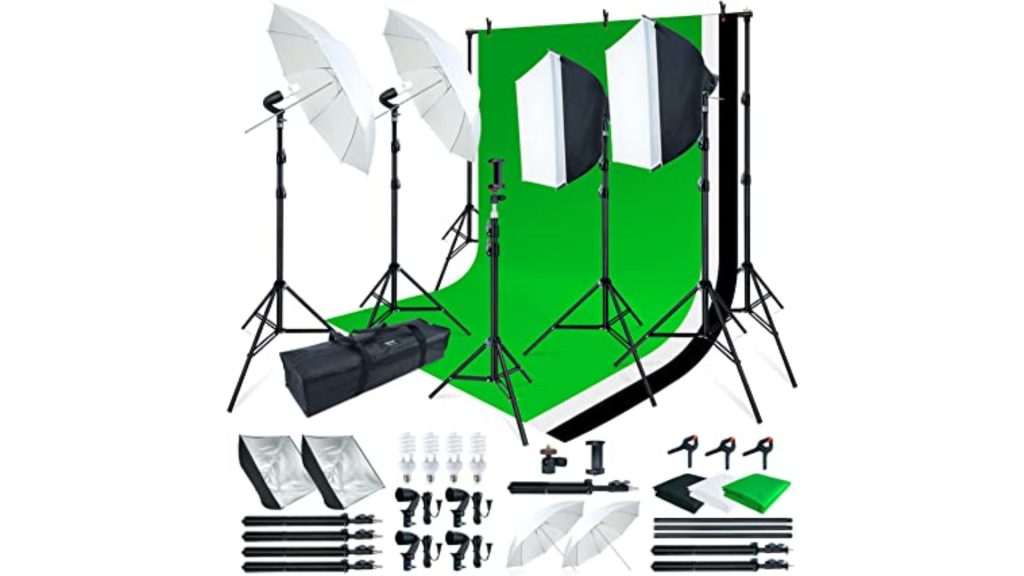
Capturing the beauty of architectural structures is an art form in itself. The use of natural light can enhance the grandeur of a building, but it’s not always reliable or consistent.
That’s where lighting equipment for architecture photography comes in – allowing you to carefully supplement and control the light to achieve the desired result.
Whether it’s highlighting intricate details or adding depth and dimension to a building’s façade, lighting equipment can really make a difference.
With the right tools, you can bring your photos to life and create stunning images that truly showcase the beauty of architecture.
Our Top 1 Picks For You
Table could not be displayed.9. Color Calibration Setup
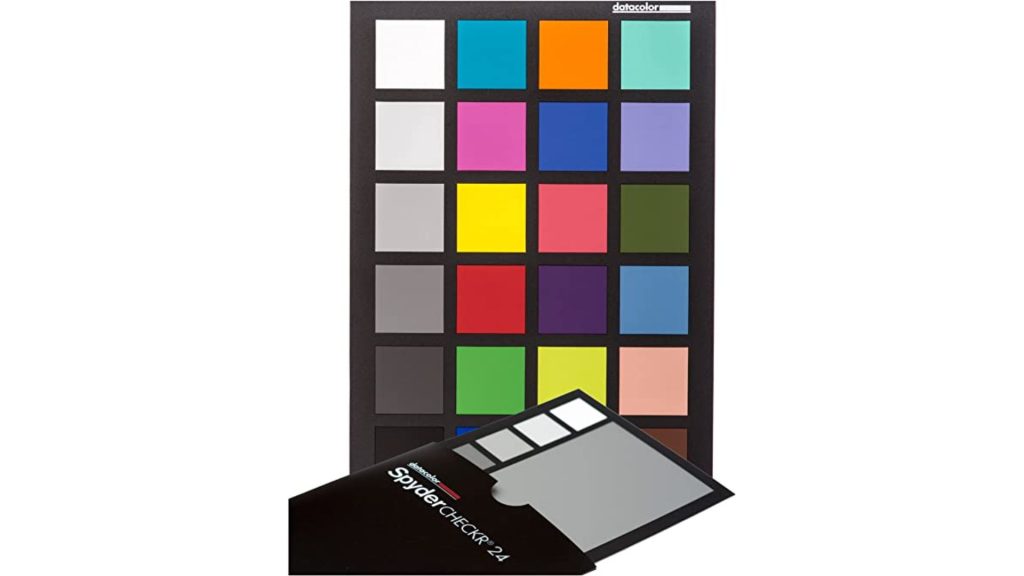
Capturing stunning photographs of architecture is a labour of love that requires equal parts creativity and precision.
When it comes to colour fidelity, it’s essential to ensure that the colours in your photos are true to the original architecture.
Whether you’re working with a discerning client or simply striving for perfection in your craft, a reliable colour calibration setup can make all the difference.
With the right tools, you can achieve stunning, lifelike colours that tell the story of the architecture in a way that resonates deeply with the viewer.
So if you’re serious about architecture photography, make sure you invest in a quality color calibration setup to achieve the best results.
Datacolor SpyderCHECKR 24 – Bets colour calibration setup in 50$
10. Adobe Photoshop
Capturing images in a camera is always the goal, but let’s face it, sometimes adjustments need to be made during post-processing. Getting the perfect shot in a world where photographers are constantly pushing themselves to be better and more creative is simply not easy.
But don’t worry, with the right tools and techniques, fixing things like keystoning and lens tilt effects can be a breeze. Thanks to Photoshop’s advanced features, these issues can easily be corrected with some simple steps. So, don’t be afraid to embrace post-processing and take advantage of the endless possibilities it offers to enhance your final product.
5 Tips for Architecture Photography
1. Use a tripod
One of the most important pieces of equipment for architecture photography is a tripod. A tripod will help to keep your camera steady and will allow you to capture sharp images. Additionally, using a tripod will allow you to use lower shutter speeds, which can be helpful when photographing in low-light conditions.
2. Use a wide-angle lens
Another important piece of equipment for architecture photography is a wide-angle lens. Wide-angle lenses allow you to capture more of the scene in your frame, which can be helpful when photographing buildings. Additionally, wide-angle lenses can help to reduce distortion, which is often an issue when photographing with a narrow field of view.
3. Shoot in RAW format
When shooting architecture photography, it is important to shoot in RAW format. RAW files are larger than JPEGs and contain more data, which gives you more flexibility when editing your photos. Additionally, RAW files retain more detail than JPEGs, which can be helpful when printing large prints or making enlargements.
4. Edit your photos
Once you have captured some photos, it is important to edit them in order to bring out the best in each image. There are a variety of software programs that can be used for photo editing, such as Adobe Photoshop or Lightroom. When editing your photos, try to adjust the levels, contrast, saturation, and sharpness in order to create an eye-catching image.
5. Use filters sparingly
While filters can be helpful for adding contrast or colour to your photos, it is important to use them sparingly. Overusing filters can often lead to an unnatural-looking image that does not accurately represent the scene that you photographed.
Final Thoughts:
In conclusion, architectural photography is a specialized field that requires a range of specialized equipment to produce high-quality images.
From cameras and lenses to tripods and filters, the right gear can make a big difference in the quality of your photos.
By investing in quality equipment and taking the time to learn how to use it effectively, you can produce stunning images that truly capture the beauty and grandeur of the built environment.
So why wait? Start assembling your kit today and take your architecture photography to the next level!
You’ll Also Like:
Best Size Architecture Photography Lens
Best Construction Time Lapse Camera
Best Security Camera For Construction Sites